Kitty 3000 Firmware

I was sad to notice in a comment on Thingiverse that the instructional video for the Kitty 3000 pet treat dispenser was no longer available so I cleaned up my micropython code a bit and am making it available here.
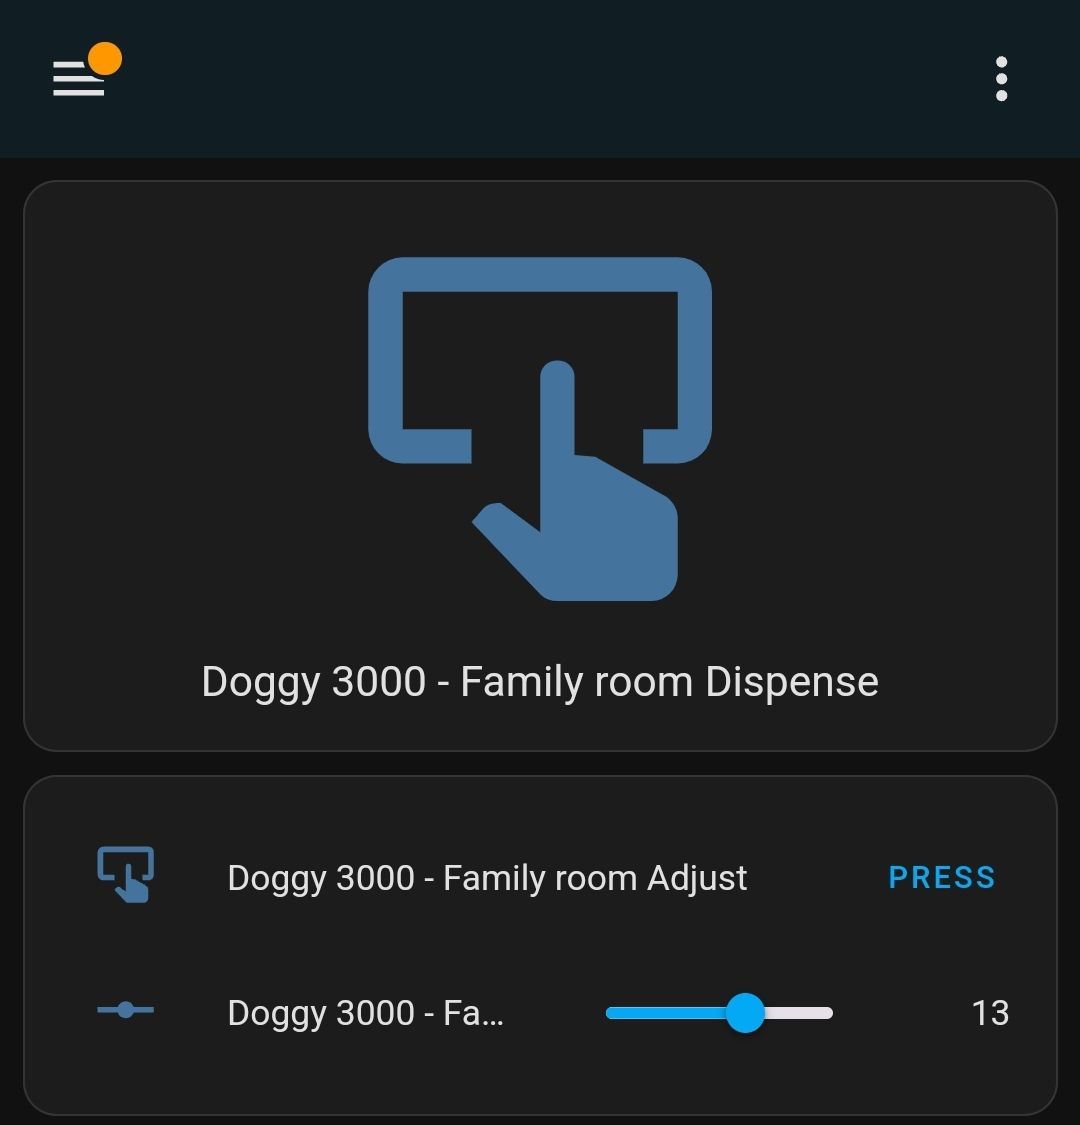
About 2 years ago I came across the Kitty 3000 treat dispenser and printed one out figuring my dogs wouldn't be too offended. The software that ran it relied on a raspberry pi and served a custom web page to control. Since the functionality was so simple I just ported it to an ESP32 and used MQTT and Home Assistant to handle the treat dispensing and tracking duties.

Supplies
- ESP32 Mini, ESP32 development board, or whatever ESP32 you prefer
- Stepper motor and driver
- Wire
- Dupont connector kit - (optional)
- Dupont Terminal Block (optional, handy for all the ground connections)
- USB cable
- USB wall charger
- 3D Printer for the Kitty 3000 itself
When you purchase through links on this site, I may earn an affiliate commission.
3D Printing
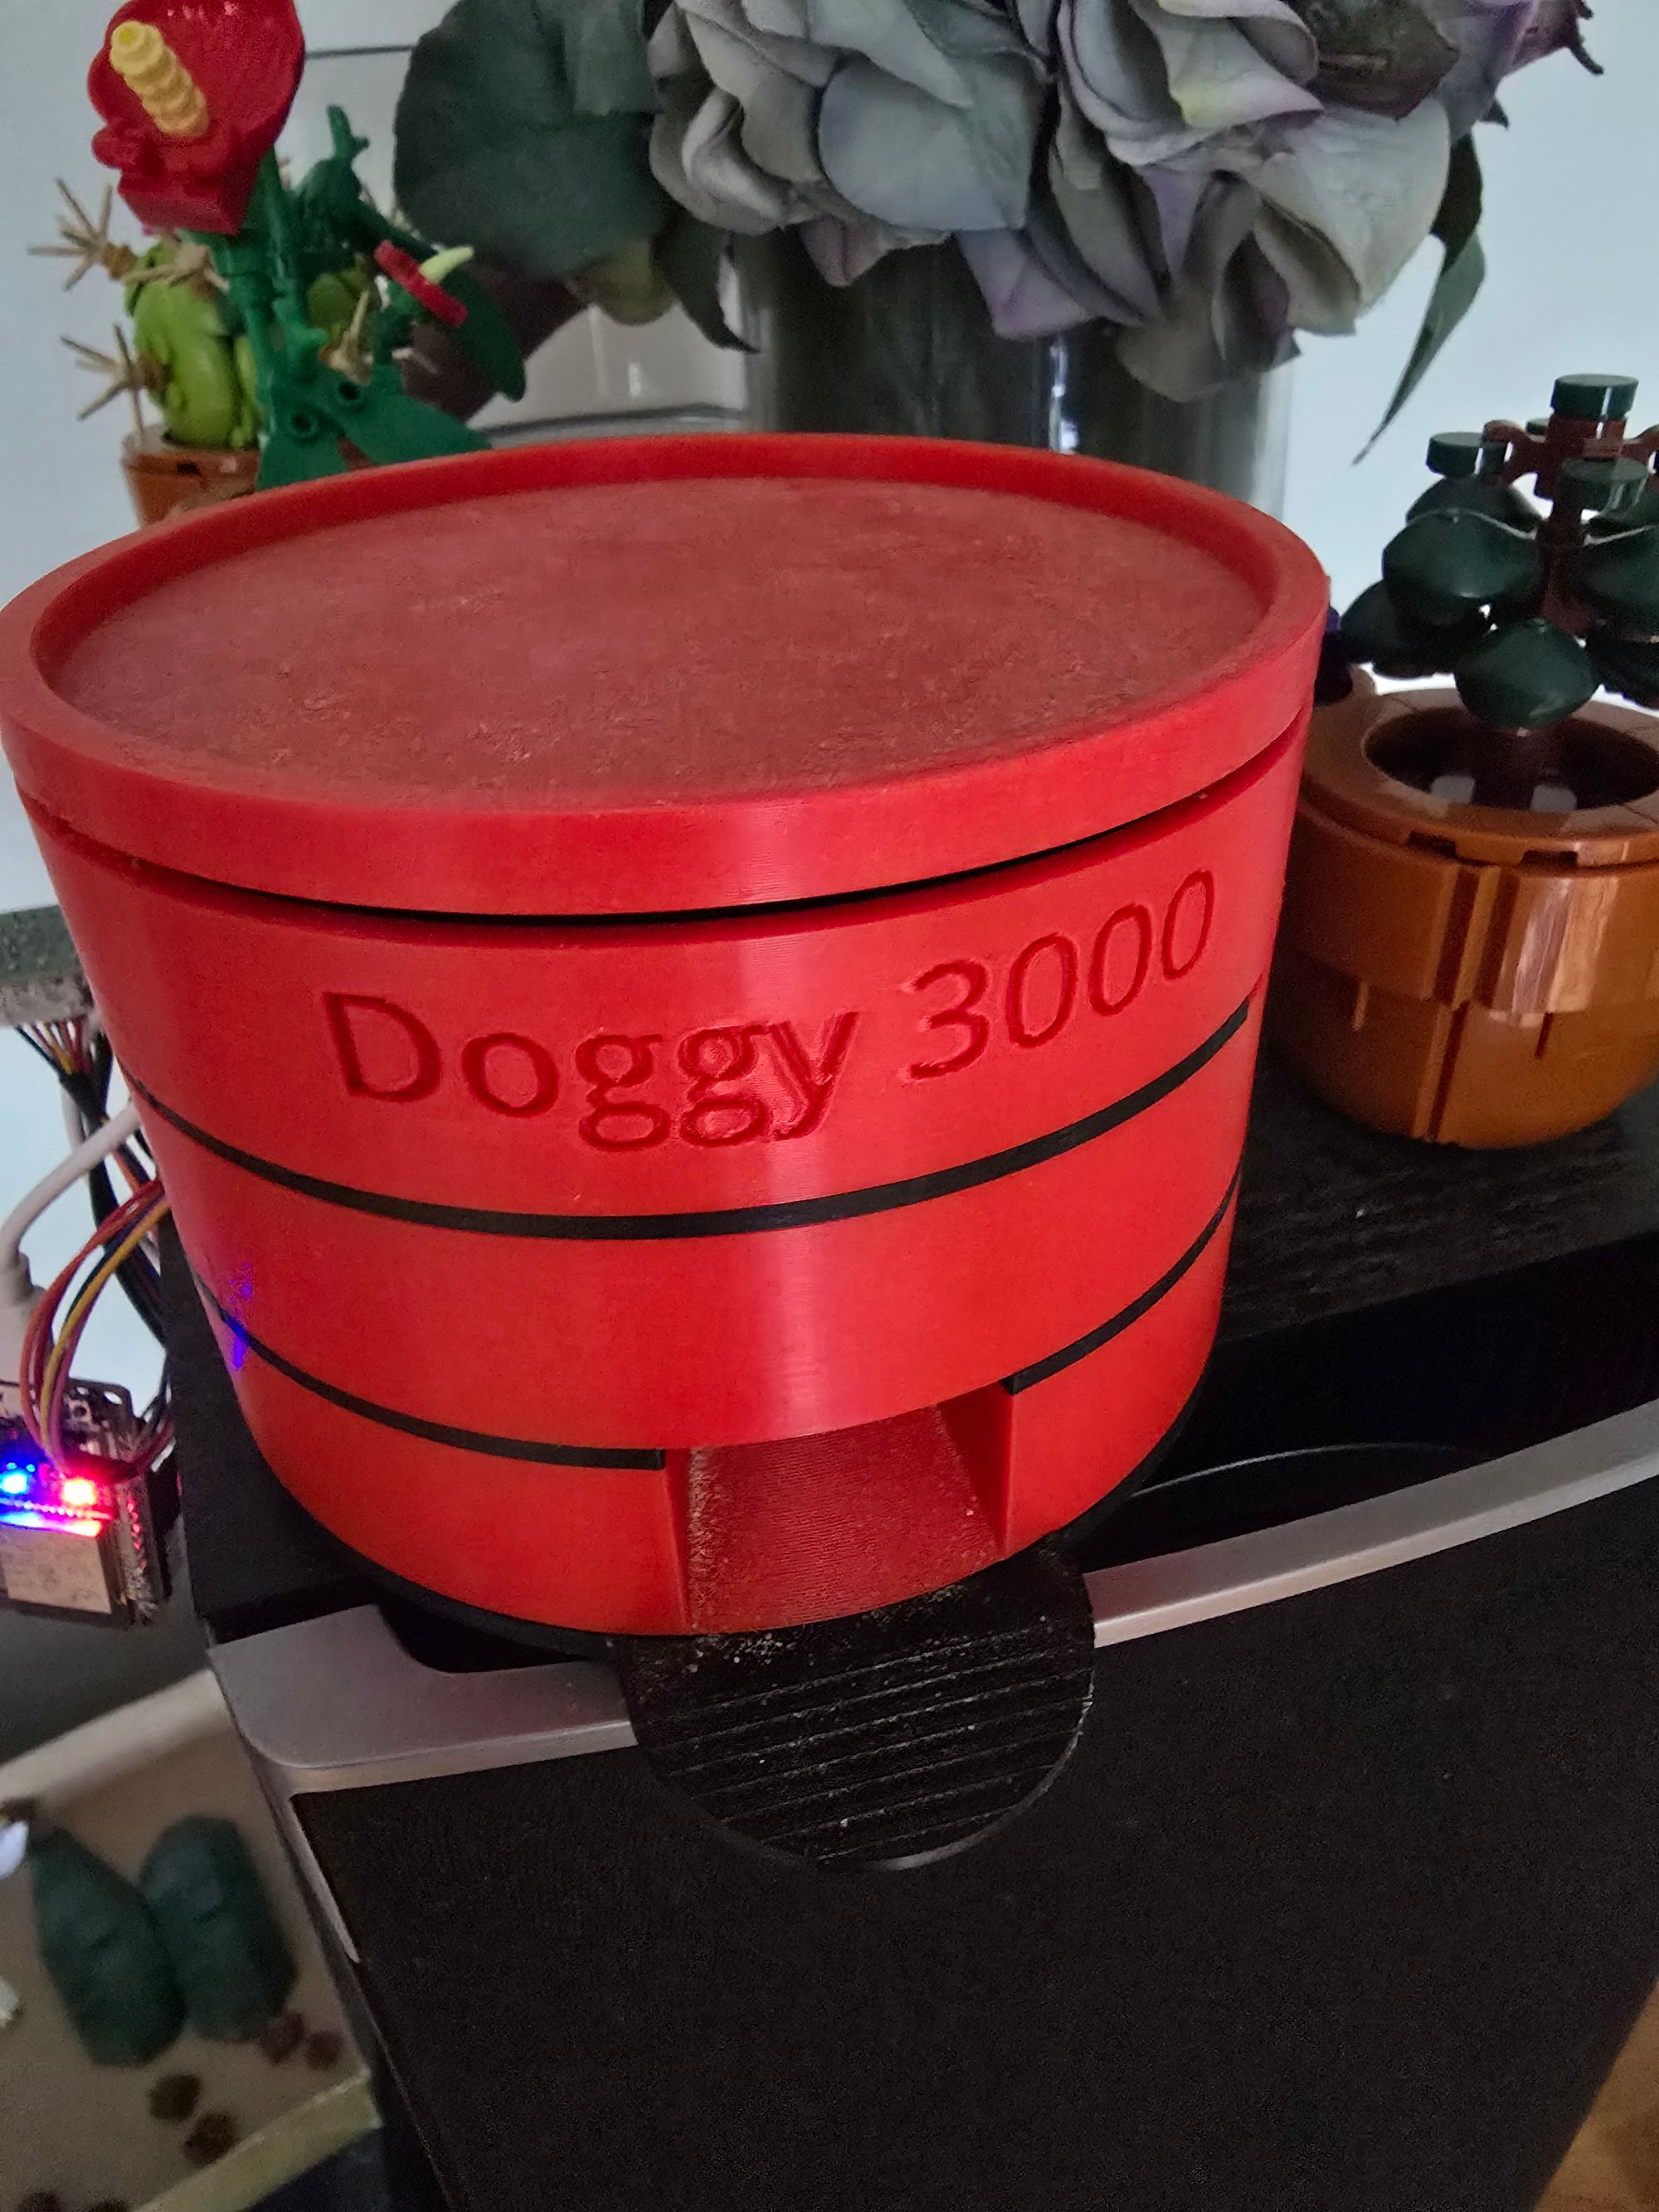
Without the video to explain it's hard to know what to print. I barely remember but in general you can have up to 5(?) levels maybe. Each level holds about 11 treats and I just used 2 levels on top of the base. I also changed the text on the front from Kitty 3000 to Doggy 3000 and hopefully no-one minds if I make that available here:
- Bottom (thin base plate)
- Bottom enclosure (lowest level that holds the stepper motor)
- Lowest layer
- Basic enclosure (or could be swapped for Kitty/Doggy 3000 logo enclosure at any layer)
- Bottom drum (attaches to stepper motor)
- (You're functional at this point and have 11 treats but each level above would need the following)
- Drum
- Nub (connects the drums between levels)
- X layer - Second, Third, Forth, and Fifth layer files are provided (the openings between the layers need to be offset to prevent upper layer treats from falling more than one layer down)
- Basic enclosure
- (Loop steps 7 through 10 for each other layer)
- Lid
Wiring and Assembly
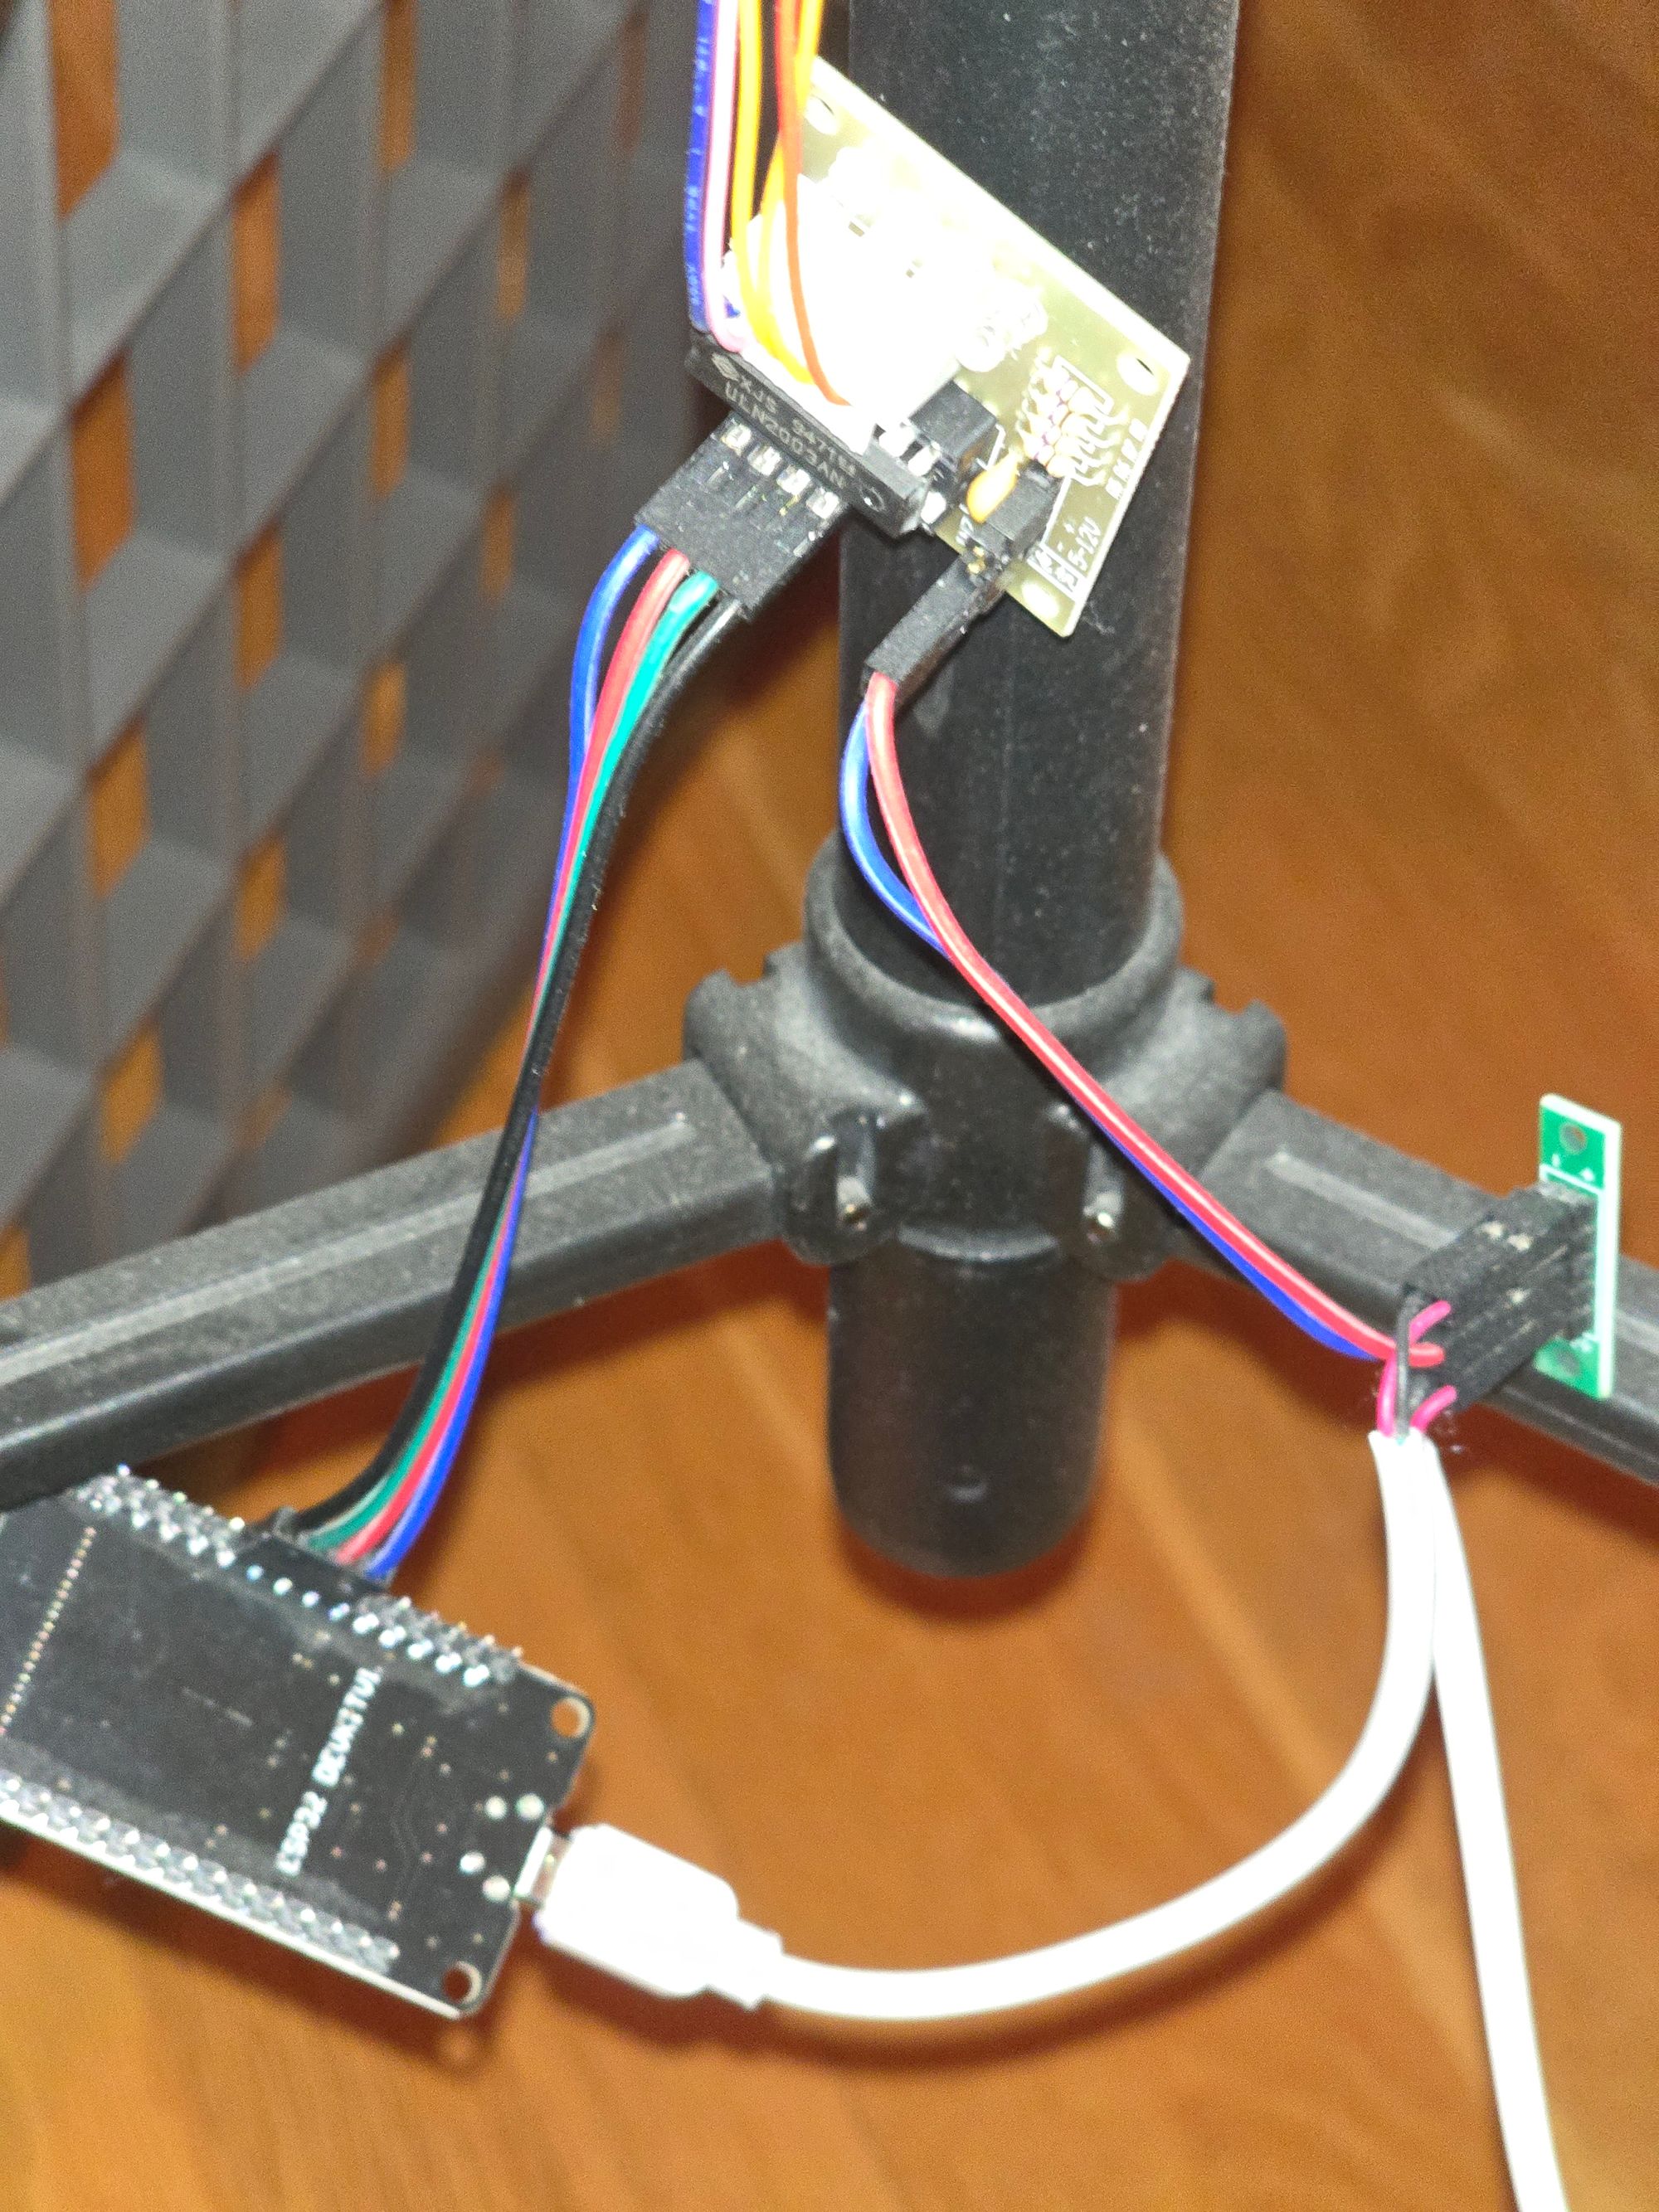
The stepper motor driver and ESP32 both need 5V power. I usually cut a micro USB cable and connect it to the power adapter and the other side to a terminal block. Then connect the micro side from the terminal block to the ESP32 and another 2 pin female dupont from the terminal block to the power in on the stepper driver. The driver board connects to 4 pins on the ESP32. In the default config I'm using pins 32,33,25,26 but can be easily changed.

Code
Getting Started With Micropython
micropython-mqtt
Grab mqtt_as/mqtt_as.py and mqtt_as/mqtt_local.py and upload them to the root of the ESP32 without the subdirs. We'll need to tweak mqtt_local.py with your WiFi and MQTT broker settings.
Update 4/20/25: The latest version of micropython-mqtt has been restructured. Now grab mqtt_as/__init__.py and upload it to the same path on the ESP32. Tweak mqtt_local_example.py with your WiFi and MQTT broker settings and upload that as mqtt_local.py to the root of your ESP32.
This project's code
Copy all python files to the root of the ESP32. If you don't want the automatic Home Assistant device and entity creation you can get rid of ha.py and use an MQTT client instead.
Configuration
Static config (config.json)
The static config file contains config for the 4 stepper pin numbers, a dispenser number so you can have mutiple Kitty 3000's, and the number of treats it can hold (based on how many layers). Make necessary changes and copy to the root of the ESP32.
MQTT config
I made some configuration easier to change and it exists as a JSON document in the "esp32/kitty3000/<dispenser num>/config" topic. The "name" shows up in Home Assistant auto discovery device. The cheap steppers seem to need some tweaking as they get a little off over time. I've added "adjustment-angle" (how much to adjust) and "adjustment-freq" (number of treats to adjust after) and you can muck with those to calibrate yours.
{
  "name": "Doggy 3000 - Family room",
  "adjustment-angle": 2,
  "adjustment-freq": 6
}
"esp32/kitty3000/<dispenser num>/config" topic
Home Assistant
If you uploaded ha.py to your ESP32 then the code will use MQTT Discovery to create a device and entities.

Notifications
I didn't bother making any but you could notify yourself when the treat count gets low.
