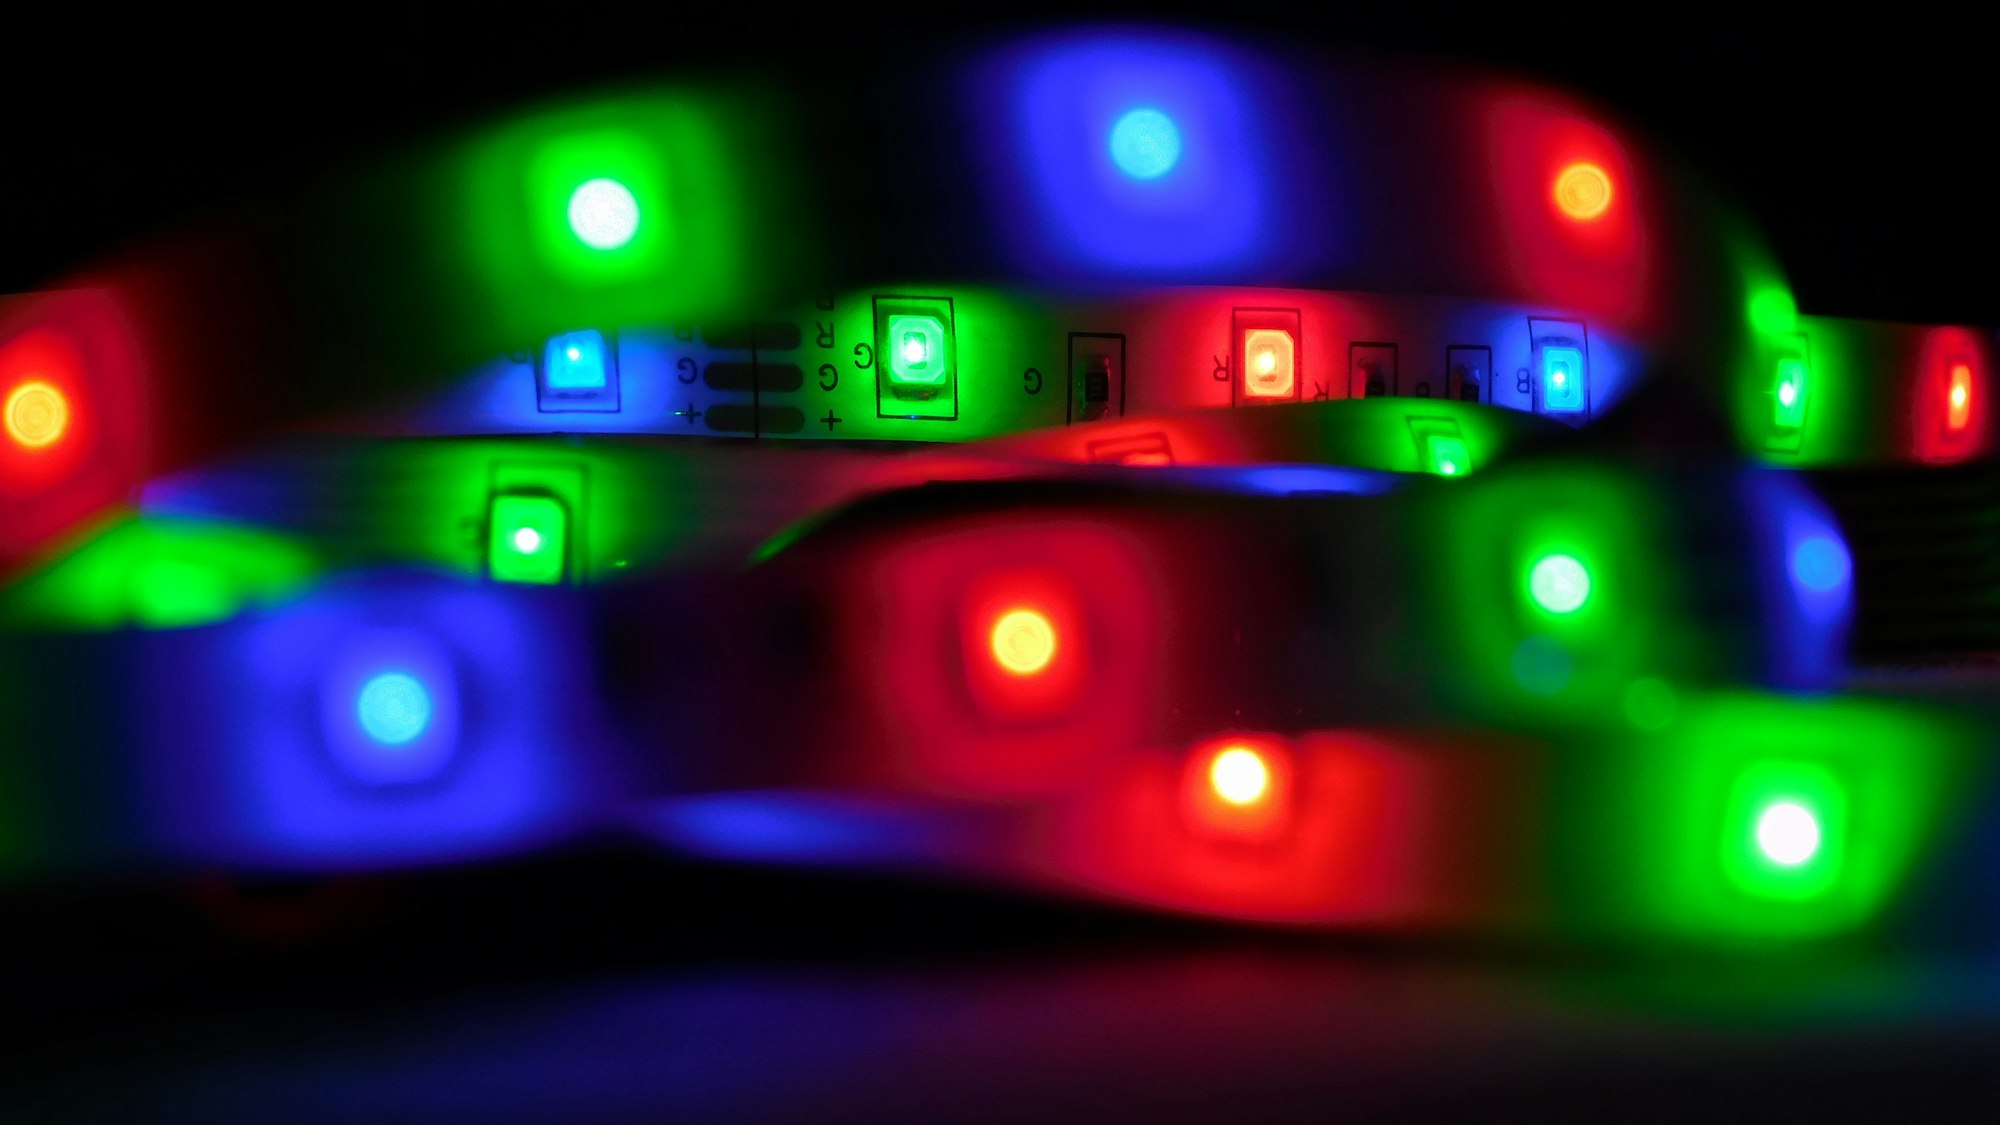
Bass Reactive LEDs with Micropython and ESP32
A sampling of some different kinds of music « Music: bensound.com »
This is my take on creating some cool lighting for my car. I thought it would be more interesting if the LEDs reacted only to the bass instead of simply the volume. After a bunch of googling I couldn't really find exactly what I wanted but I managed to piece things together from a bunch of sources. See for yourself!
Supplies
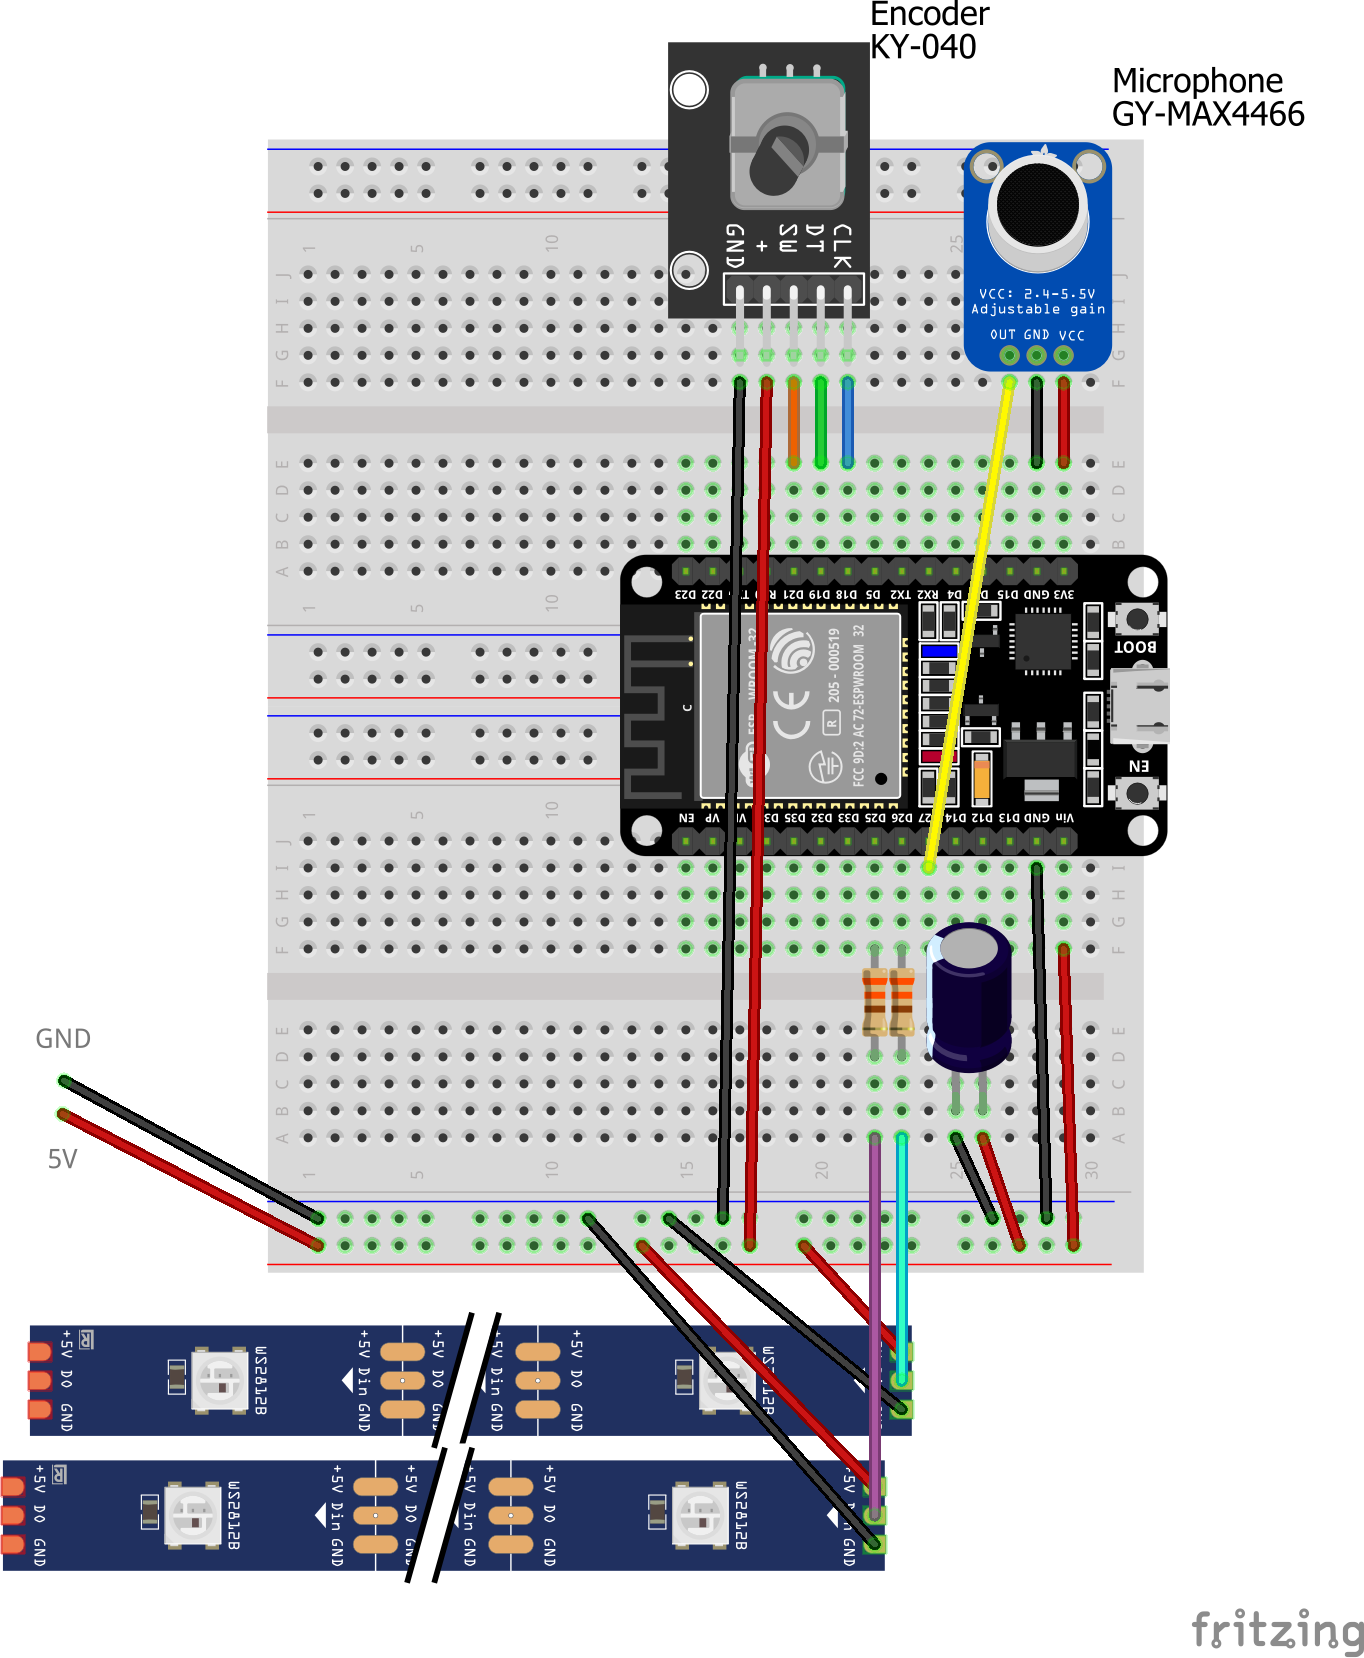
- GY-MAX4466 - Electret Microphone Amplifier Sensor Sound Module with Adjustable Gain Control
- ESP32 development board, ESP32 Mini, or whatever ESP32 you prefer
- Neopixel strip - You could go with IP65 or IP67 waterproofing but I went with the cheaper IP30 and so far so good. I used 18 LEDs per footwell, 60 pixels per meter.
- KY-040 Rotary Encoder Module
- Capacitor (500–1000 µF at 6.3V or higher)
- 2 resistors (300-500Ω)
- Soldering iron
- Wire
When you purchase through links on this site, I may earn an affiliate commission.
Wiring
Compiling the firmware
The library I'm using to analyze the sound is too big to be used as a normal module on the ESP32 and needs to be frozen into the firmware. Here's the guide I followed:
 v923z
v923zThis did the trick to freeze ulab into micropython 1.19.1 on my Ubuntu 22.04.2 LTS system :
sudo apt install cmake
cd ~/dev/git
git clone https://github.com/micropython/micropython.git
git clone https://github.com/v923z/micropython-ulab.git ulab
export BUILD_DIR=$(pwd)
cd micropython
git checkout v1.19.1
git clone -b v4.0.2 --recursive https://github.com/espressif/esp-idf.git
cd esp-idf/
sudo apt install python-is-python3
./install.sh
. ./export.sh
cd $BUILD_DIR/micropython/mpy-cross
make
cd $BUILD_DIR/micropython/ports/esp32
make submodules

# The next 6 lines are a single command
cat <<EOT >> makefile
BOARD = GENERIC
USER_C_MODULES = \$(BUILD_DIR)/ulab/code/micropython.cmake

include Makefile
EOT

make
After building it will spit out the command to flash the firmware.
Or download the firmware I built here:
After unpacking the files the flash command might look something like (replace <PORT> with your device's port, e.g. /dev/ttyUSB0):
esptool.py -p <PORT> -b 460800 --before default_reset --after hard_reset write_flash --flash_mode dio --flash_size detect --flash_freq 40m 0x1000 build-GENERIC/bootloader/bootloader.bin 0x8000 build-GENERIC/partition_table/partition-table.bin 0x10000 build-GENERIC/micropython.binCode
Getting Started With Micropython
micropython-rotary
miketeachmanGrab rotary.py and rotary_irq_esp.py and upload them to the ESP32.
This project's code
scareyControls
- Pressing on the rotary encoder will cycle through the modes
- In the reactive mode, turning counter-clockwise will increase the sensitivity (higher brightness for less bass)
- In the other modes, turning counter-clockwise will speed up the rainbow effects.
Notes
ADC
Note: The ESP32 has 2 ADC chips and ADC2 is shared with Wifi. This project isn't using Wifi but if you wanted to tweak the code to add Wifi support you'd want to move the mic to a pin using ADC1. See here for more details.
Mic
There's a sensitivity adjustment on the back. Turn counter-clockwise for more sensitivity. Play with it and see what works best.
Power
With a 2 footwell setup I'm powering from a USB port integrated into my car. Depending on how many pixels you've got planned you may want a 5V cigarette lighter adapter with at least 2 amps.
More strips
The code assumes 2 strips. If you wanted to add strips to the rear footwell or elsewhere you can just chain off the end of the left/right strip and increase the NUM_LEDS_PER by how many you're adding.
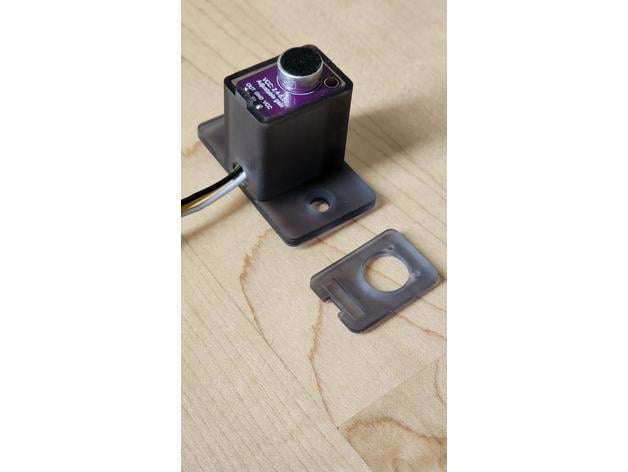
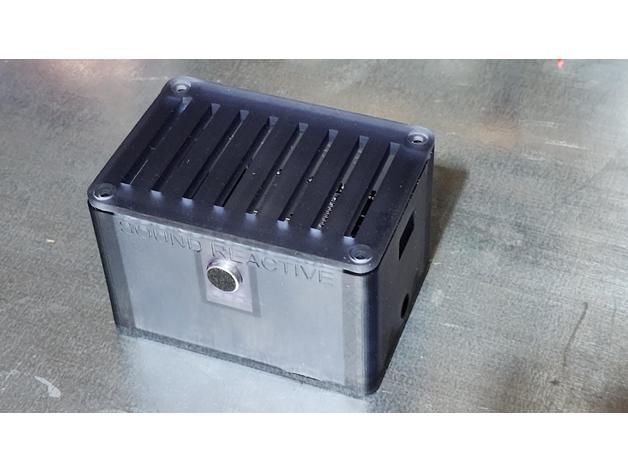
Assembly ideas
For the car I went with a separate mic enclosure so I could more easily position it.


Future plans
- More modes
- Bluetooth control?
- Any suggestions?